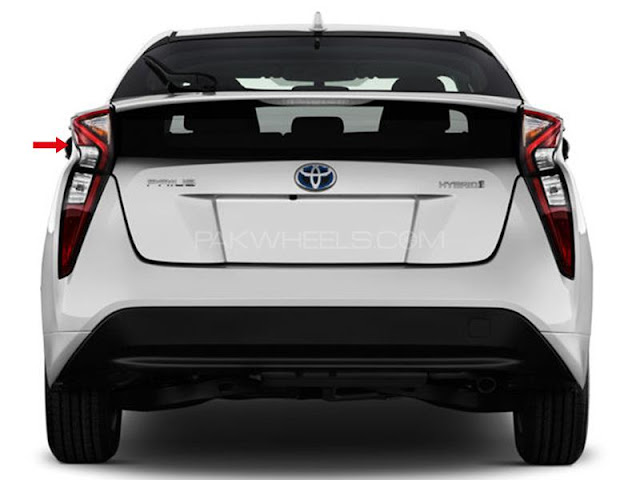
Tail light troubleshooting on your Toyota Prius may require you to attempt a few different ways, but they are all straightforward and should not take you long to complete. For each technique, you must turn off the vehicle's engine and remove the key from the ignition. Attempt to replace the light bulb if only one light is out. If an entire assembly doesn't work, you should be able to find the source of the problem by using these simple troubleshooting steps.
The light bulb
- Open the hatchback hatch. Locate the two pairs of clips on the tail light cover. Compress and retain these clips to remove the cover.
- Identify which signal bulb is defective. The top bulb is the turn signal, the middle one is the backup light, and the bottom one is the stop light.
- To remove the defective bulb, grasp it and unscrew it in a counterclockwise manner.
- Insert a replacement bulb into the socket and tighten it clockwise.
- Verify that your taillights are now operational.
Fuse
- Locate the Prius's fuse box and remove its cover. The fuse box must be located beneath the steering column.
- Find the fuse that controls the tail lights by looking at the back of the cover and looking for the words "tail lights."
- Using your fingers or needle-nose pliers, remove the fuse.
- Check the fuse. Replace it with a fuse of the same voltage if the metal component inside is cracked or if it appears black and smokey within. At the end of the fuse, the voltage number is marked.
- Determine if replacing the fuse has repaired the tail light.
Wire connection
- Connect the wire connector to the tail light assembly again. You must ensure that it fits snugly so that there is a strong electrical connection between the car and the tail light.
- Check your taillight to ensure that it is operational.
- tail light assembly. Unlatch the hatchback of your Prius. Locate the tail light assembly with which you are experiencing difficulty. Inside the trunk is the tail light assembly.
- Take hold of the wire connector on the back of the tail light assembly and pull it away from the assembly.
- Locate the bolts that secure the tail light assembly. These bolts are located on the exterior rim of the light assembly. Remove these with a socket wrench and set them aside.
